


Fast deployment is key to any business success. Containerization saves lot of time and reduces costs. You don't have to configure hardware and spend time installing OS and software to host a deployment. Docker is a technology that enables you to deploy applications and services quickly and easily. A containerized app includes the app and the filesystem that makes up the environment in which it runs. In this article, you will get better idea about docker !
Docker
It is an open-source project for automating the deployment of applications as portable, self-sufficient containers that can run on the cloud or on-premises. It is an open platform for developing, shipping, and running applications. It enables you to separate your applications from your infrastructure so you can deliver software quickly.
A containerized app typically has a much smaller footprint than a virtual machine configured to run the same app. This smaller footprint is because a virtual machine has to supply the entire operating system and associated supporting environment. A Docker container doesn't have this overhead because Docker uses the operating system kernel of the host computer to power the container.
Docker container technology was launched in 2013 as an open source Docker Engine.
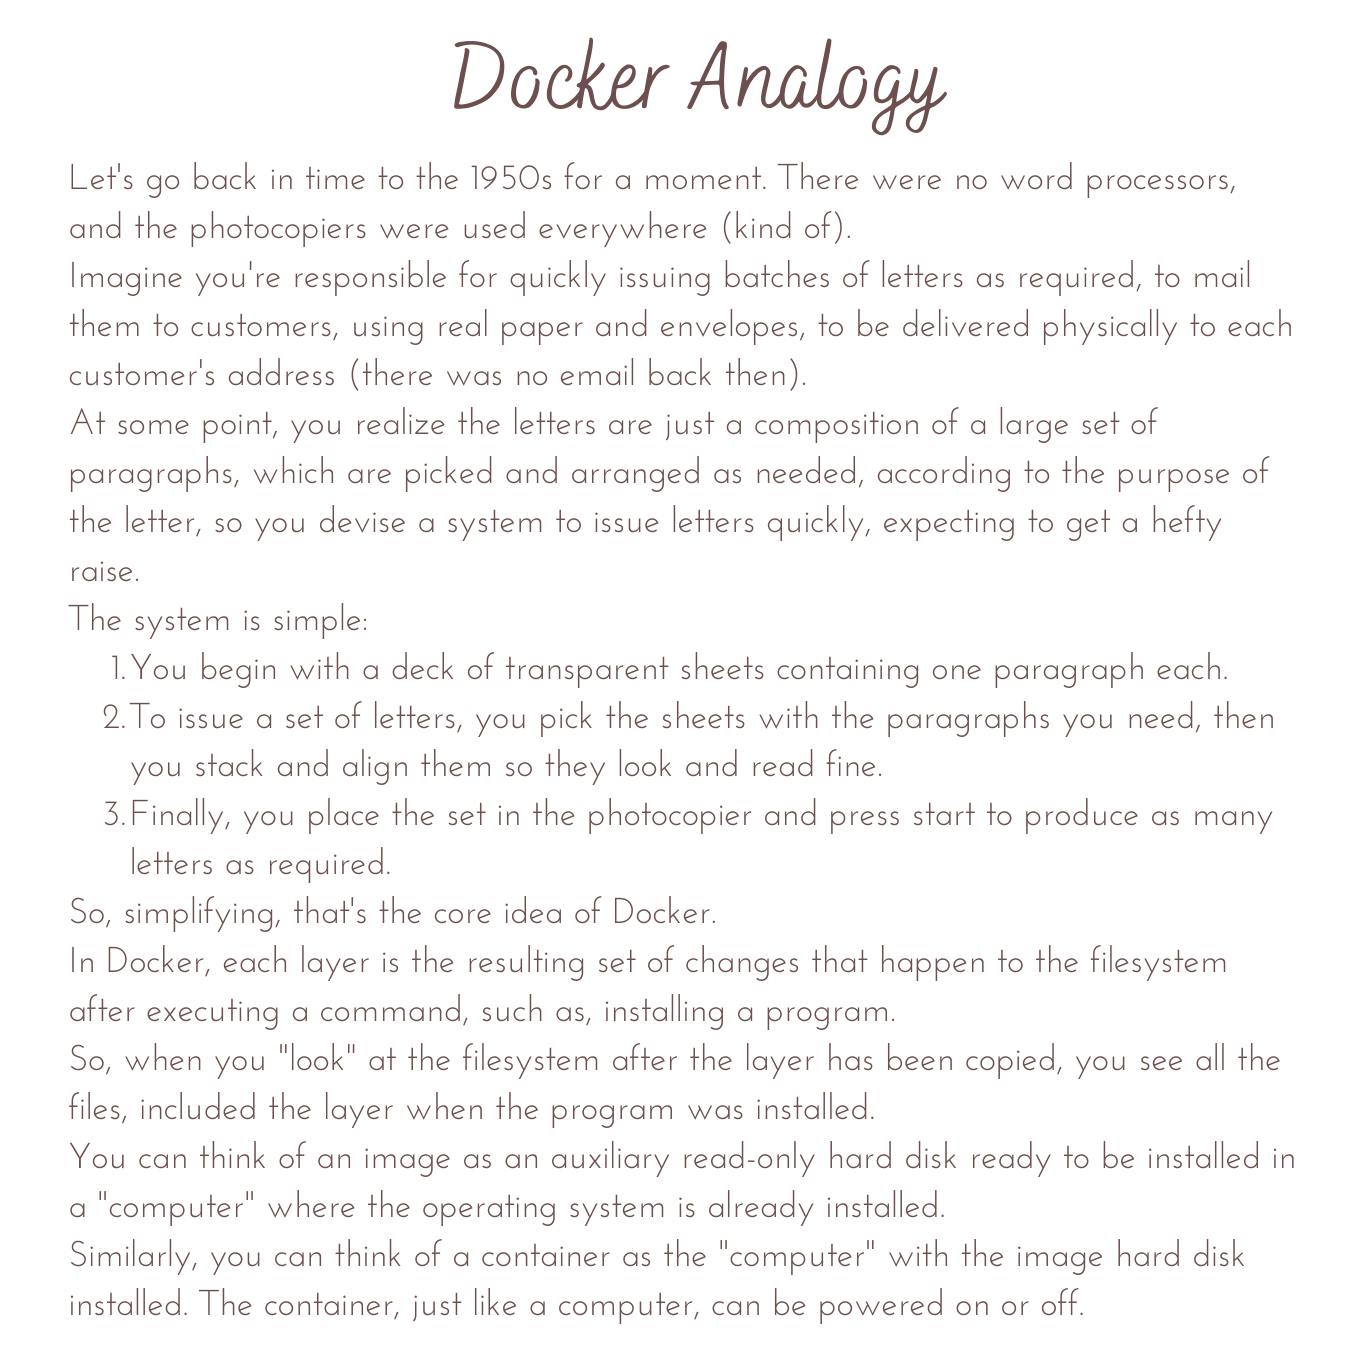
Analogy Reference: docs.microsoft.com/en-us/dotnet/architectur..
Dockerfile
It defines the contents and startup behavior of a single container. Docker can build images automatically by reading the instructions from a Dockerfile. A Dockerfile is a text document that contains all the commands a user could call on the command line to assemble an image. These commands include identification of an existing image to be used as a base, commands to be run during the image creation process, and a command that will run when new instances of the container image are deployed. Using docker build users can create an automated build that executes several command-line instructions in succession.
Docker Desktop
Docker Desktop is an easy-to-install application for your Mac or Windows environment that enables you to build and share containerized applications and microservices. Docker Desktop includes the Docker daemon (dockerd), the Docker client (docker), Docker Compose, Docker Content Trust, Kubernetes, and Credential Helper.
Docker registries
A Docker registry stores Docker images. Docker Hub is a public registry that anyone can use, and Docker is configured to look for images on Docker Hub by default. You can even run your own private registry. When you use the docker pull or docker run commands, the required images are pulled from your configured registry. When you use the docker push command, your image is pushed to your configured registry.
Docker object
When you use Docker, you are creating and using images, containers, networks, volumes, plugins, and other objects. This section is a brief overview of some of those objects.
Image
An image is a read-only template with instructions for creating a Docker container. Often, an image is based on another image, with some additional customization.
Container
A container is a runnable instance of an image. You can create, start, stop, move, or delete a container using the Docker API or CLI. You can connect a container to one or more networks, attach storage to it, or even create a new image based on its current state.
Docker benefits
- Fast, consistent delivery of your applications
- Responsive deployment and scaling
- Running more workloads on the same hardware
So now we have better idea about different docker terms, let's jump into implementation part..!
Prerequisite :
Visual Studio Code
Docker Desktop
Step 1] Install Docker Desktop
Let's see docker in action by installing Docker Desktop using following URL.
docker.com/products/docker-desktop
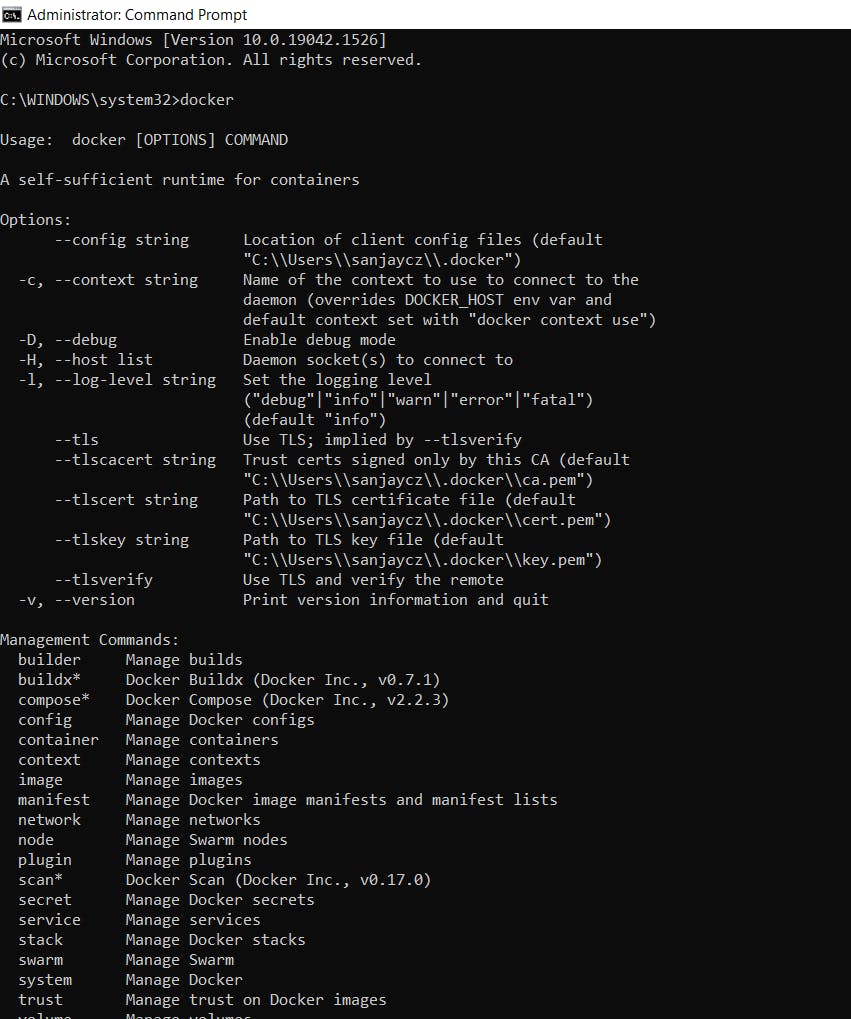
Once installation done, do check if it is sucessful by using docker command.
Step 2] Install Docker & Live Server extensions in VS Code
Docker extension will make it easy to build, manage, and deploy containerized applications in VS Code.

Live Server extension will be helpful to launch a development local Server with live reload feature for static & dynamic pages.

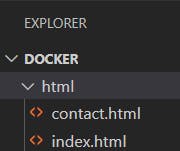
Step 3] Project structure
Basically we are creating folder named Docker for our basic application. This folder will contain html folder with 2 html files - index.html & contact.html
index.html
<!DOCTYPE html>
<html>
   <head>
   </head>
   <body>
      <h1>Docker Sample</h1>
      <p>
         This is our Index page.
      </p>
      <p>
         <a href="contact.html">Contact Us</a>
      </p>
   </body>
</html>
contact.html
<!DOCTYPE html>
<html>
   <head>
   </head>
   <body>
      <h1>Contact Us</h1>
      <p>
         This is Contact us page.
      </p>
   </body>
</html>
Lets run our html files using Live Server - Click on Go Live option at bottom of VS Code screen.


Step 4] Dockerfile creation & configuration
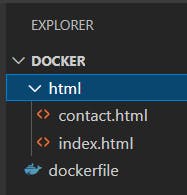
A Dockerfile must be created with no extension. To do this in Windows, create the file in notepad & then save it with the notation "Dockerfile" (including the quotes).

So now our folder structure should look like this,
dockerfile
FROM httpd:alpine
COPY ./html/ /usr/local/apache2/htdocs/
FROM httpd:alpine
The FROM instruction sets the container image that will be used during the new image creation process. If you omit tag, the builder assumes a latest by default.
FROM <image>:<tag>
We need to get base image, This image is based on the popular Alpine Linux project, available in the alpine official image. Alpine Linux is much smaller than most distribution base images (~5MB), and thus leads to much slimmer images in general.
This variant is useful when final image size being as small as possible is your primary concern.
Reference : hub.docker.com/_/httpd?tab=description
COPY ./html/ /usr/local/apache2/htdocs/
The COPY statement takes all files from the html directory in the Docker folder directory and places them in the /usr/local/apache2/htdocs/ directory in the target image.
Step 5] Build Docker image
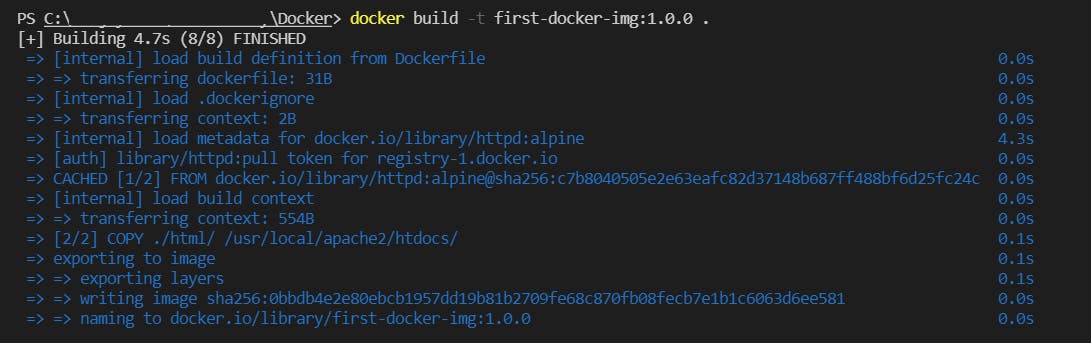
As we have Dockerfile ready now, we can build the image using the following command, make sure you are in your Docker Project directory in VS code terminal:
docker build -t first-docker-img:1.0.0 .
-t - Name and optionally a tag (to specify version) in the 'name:tag' format
first-docker-img - Image name
1.0.0 - Tag name
. - The . operator specifies the current directory.
Let's verify image using below command
docker images

Step 6] Run Docker image
Run following command in terminal,
docker run --name first-docker-container -p 8075:80 first-docker-img:1.0.0
--name - Assign a name to the container i.e. first-docker-container
-p - Publish a container's port(s) to the host. It specify what port (8075) on the host machine to map the port (80) the app is listening on in the container.
-d - Run container in background i.e. detached mode.
Let's verify container using below command ( ps -a means show all containers)
docker ps -a

Now you can paste url in browser to check output - localhost:8075
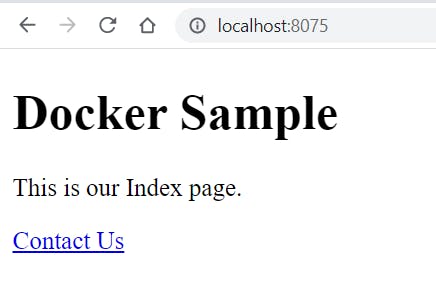
Congratulations ! You have just deployed the containerized application with docker..!!
In this article, you learned the basics about building a container image, creating Dockerfile, starting the container and view the running app. Thank you for taking your valuable time to read the article. Please share your feedback & suggestion in comment section.